
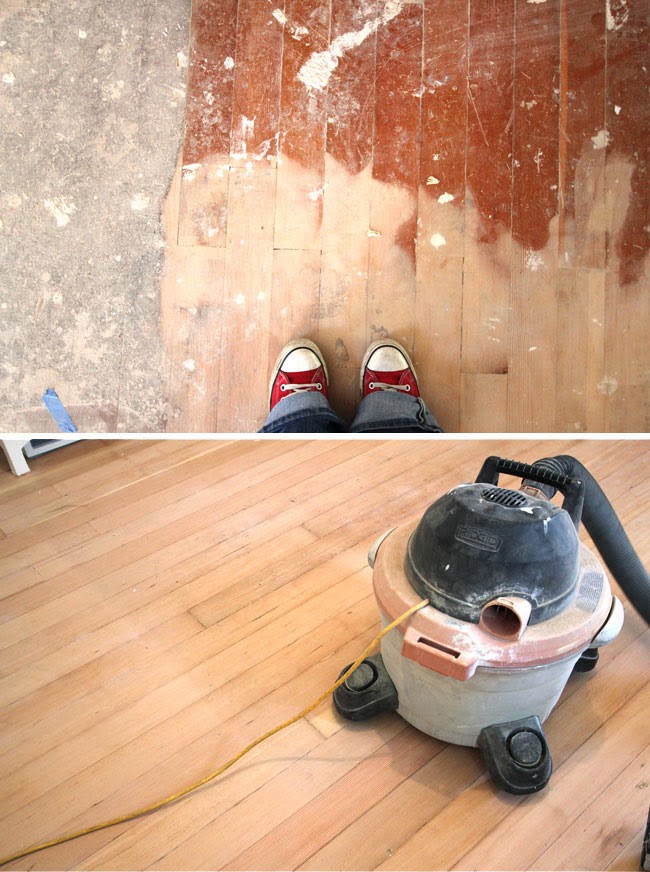
Here I'm going to attempt to illustrate the craziness that is my kitchen floor. After pulling up about 3 layers of burlap-backed linoleum & a layer of 90-year old tar/glue, I was left with beautifully untouched original flooring. If you remember (and much to the horror of my contractor), I had the unwavering desire to paint my floor. *Gasp!* in total incredulity he says, "You want to paint your wood floor?!" Seriously. I don't think this man has EVER picked up a home decor magazine or even knows the word "blog". He even asked me to send him a link that would show how to properly paint wood floors. I obliged, knowing full well he was never going to read it. He's a do-er, not a dreamer. So, whatever. *shakes head in dismay* Contractor painting floor was out.
Thinking that maybe Flooring Guy would be able to take care of it, because after all, he is Flooring Guy. He smiled and said, "I've never painted a floor. But, sure! No problem"
*Mistake! Red flag! Red flag!*
So, no. Flooring Guy did not paint the floor. I had him sand the old tar/glue & renovation crud that had built up. He got it down to a bare, smooth-as-a-baby's-behind state. Then we covered it in about a billion layers of paper for protection. Remodeling continued.
Later, I thought maybe Painter Guy could do the floor, because after all, he is Painter Guy. He smiled and said, "I've never painted a floor. But, sure! No problem"
*Mistake! Red flag! Red flag!*
So, no. Painter Guy did not paint the floor. None of "my guys" could paint the floor. No one even knew how to paint a floor (or were just afraid). I couldn't trust any of them. I got seriously depressed. Then, I had a thought. I got excited...
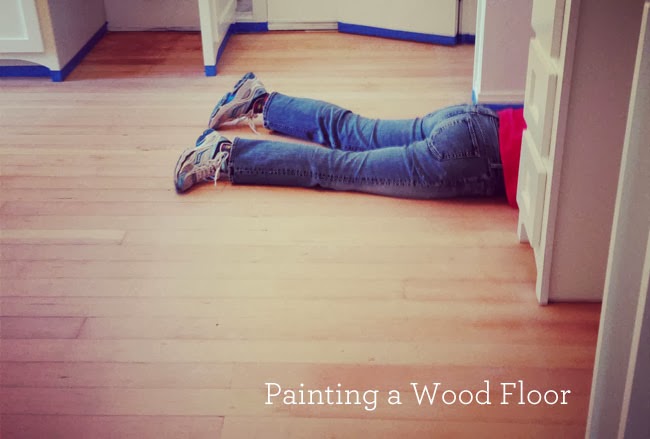
Hand on hip, finger to the sky and in a voice worthy of a superhero, I bellow; "I'll do it myself!"
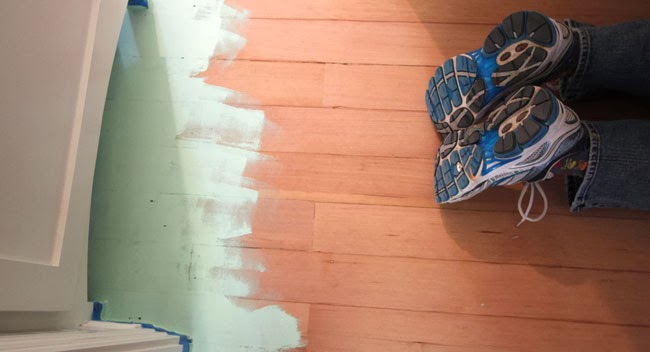
In hindsight, I think maybe I got "Pinterested" (to quote my sis-in-law). By grabbing inspiration and crafty awesomeness from Pinterest, one thinks one can accomplish anything in 2 days and have it turn out worthy of an Architectural Digest photo shoot. Not always possible. So, of course, a DIY Painted Floor weekend was easily within my grasp. Totally! No problem! I even had the brilliant idea of using different colors for each coat, so as it wears down over time, it'll look way awesome. Mom, being her super rad self, offered to help. (or maybe I begged, pleaded & bribed her with a lifetime spa membership. I'm not sure) My kitchen is just a big square, so taping off & painting shouldn't take too much time. Right? Wrong! I forgot about my sweet new custom cabinets that we'd have to tape around. In, out, in, out, around the legs, under & in the cabinets... ugh. After pulling up all the protective paper, vacuuming & taping off, Mom and I had shimmied around on our bellies all day long. (knees, elbows, back = oh, the pain!)
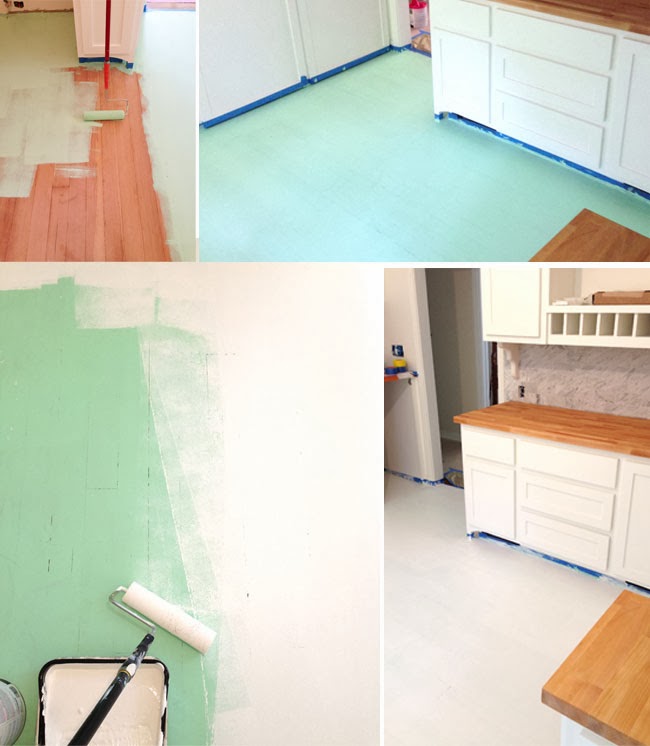
Second layer. Oh, the beautiful white floor. Sooooooo amazingly awesome. Sad to cover it up, but I knew with my life, there was no way I'd be good at keeping it looking clean & pretty. *sigh*
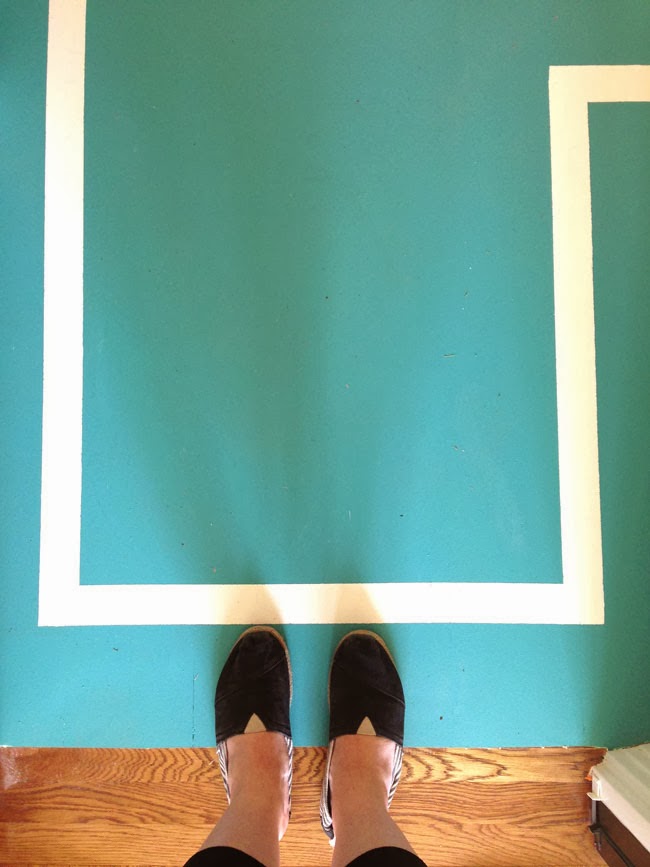
I wanted to add in a little bit of detail without going overboard with an all-over stencil pattern. What can I say, I'm a little fickle and I knew that I'd get tired of anything "big" I put down. So, I decided on a simple border stripe where we'd tape off the white and paint over with the turquoise. Fingers crossed that the tape would hold up to 2 coats rolling over it.
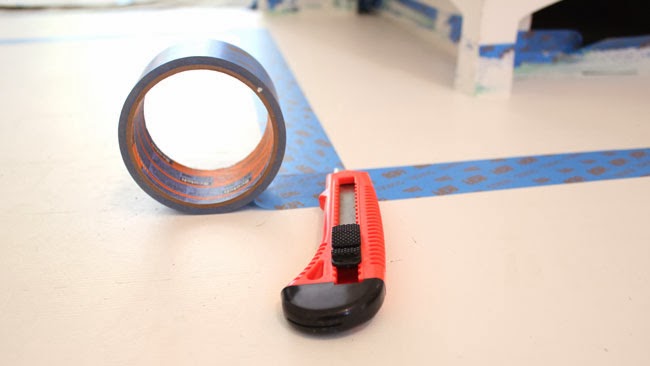
Commence OCD time! I became one with my Xacto. Serious measuring, penciling, measuring again. Taping, cutting, taping, cutting.
Below, you can see the tape peeking through the first layer of turquoise.
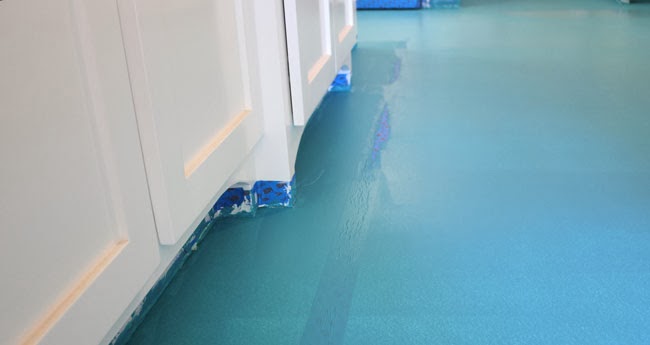
It started puckering in spots, but overall there wasn't much touch-up needed later. Taking an extra half-day to touch-up? That was just me being OCD. Eventually, I had to say it was done.
All said and done, between taping time, drying time between coats, and fixing mistakes afterward, it took us about 7 days. All the paint was Rust-Oleum Deck Paint from Dunn Edwards. Layer 1: "Mint-o-licious". Layers 2 & 3: "Whisper". Layers 4 & 5: "Caribbean Cruise". Layer 6: clear polyurethane (professionally applied by Flooring Guy) .
Lots and lots and lots of effort that was well worth it in the end. Thanks Mom!!!!
.